
How to Run Multiple AI Agents on One VPS Using One OpenCloud/OpenClaw Stack
A practical architecture for shipping fast without creating a security mess
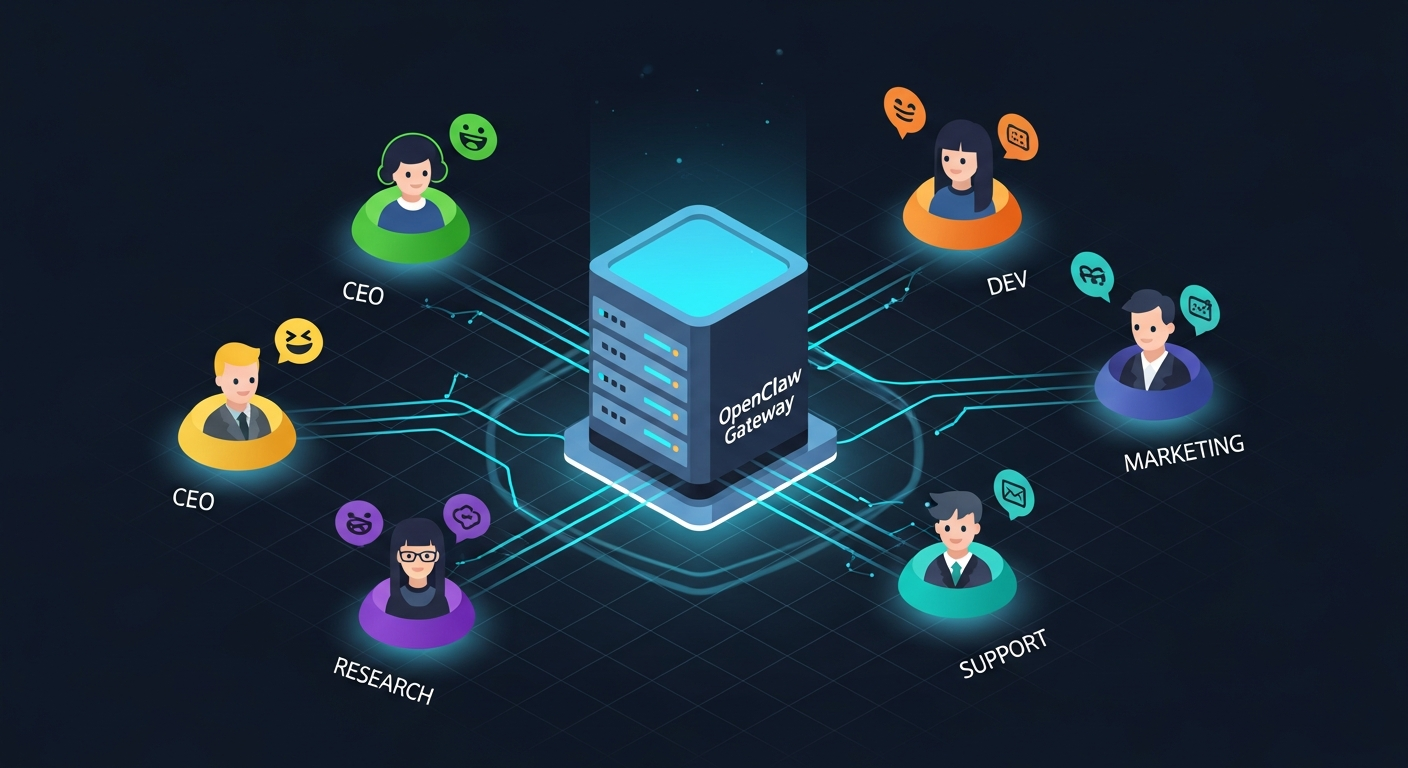
Most teams start with one AI agent, then hit the same wall: they want multiple specialized agents, but they do not want to manage multiple servers on day one.
The good news is you can run multiple agents on one VPS with one public OpenCloud/OpenClaw entrypoint. The bad news is this only works well when you treat each agent as an isolated runtime and make your reverse proxy the only public door.
This guide synthesizes official OpenClaw docs and production infra references into a concrete implementation blueprint.
The core architecture (what actually works)
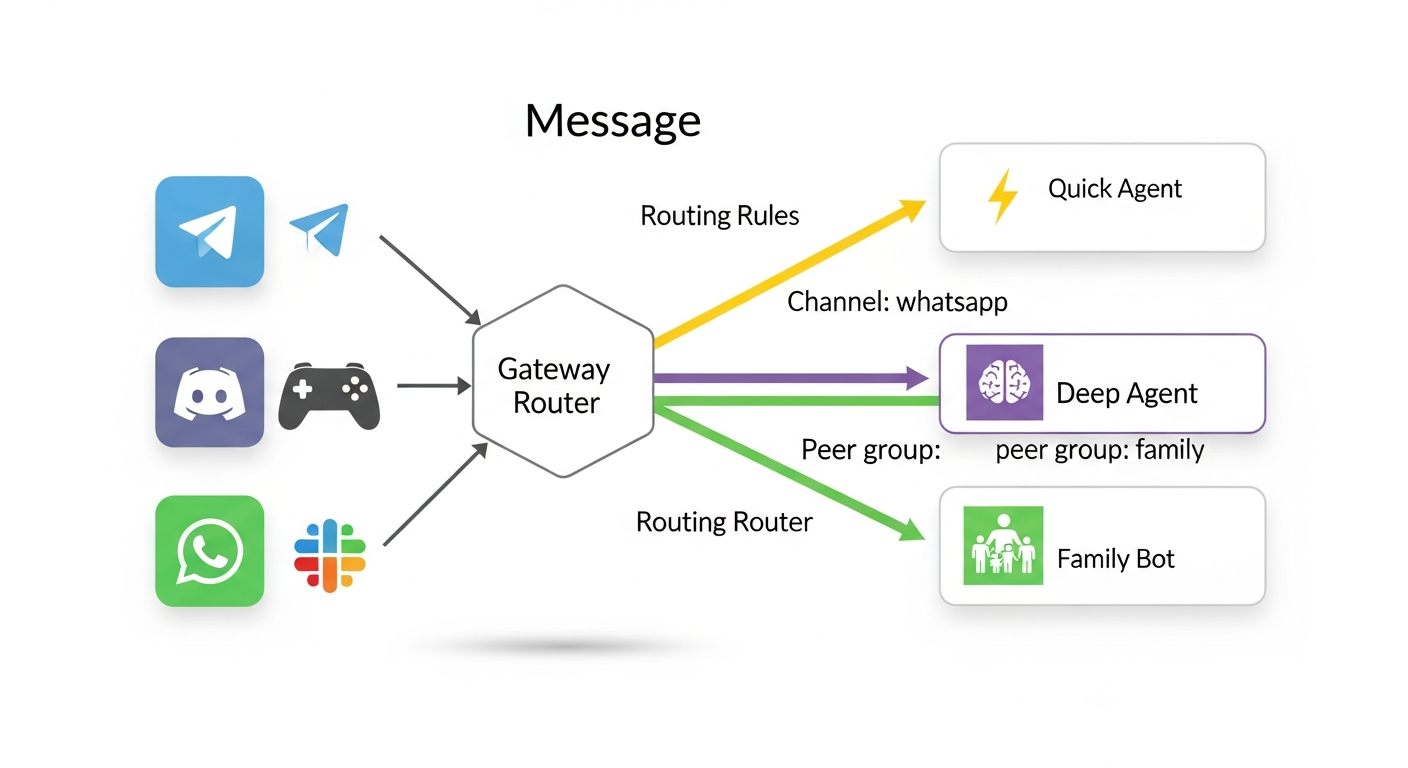
Use this pattern:
Internet -> Reverse Proxy (Caddy or NGINX) -> Multiple private OpenClaw gateways
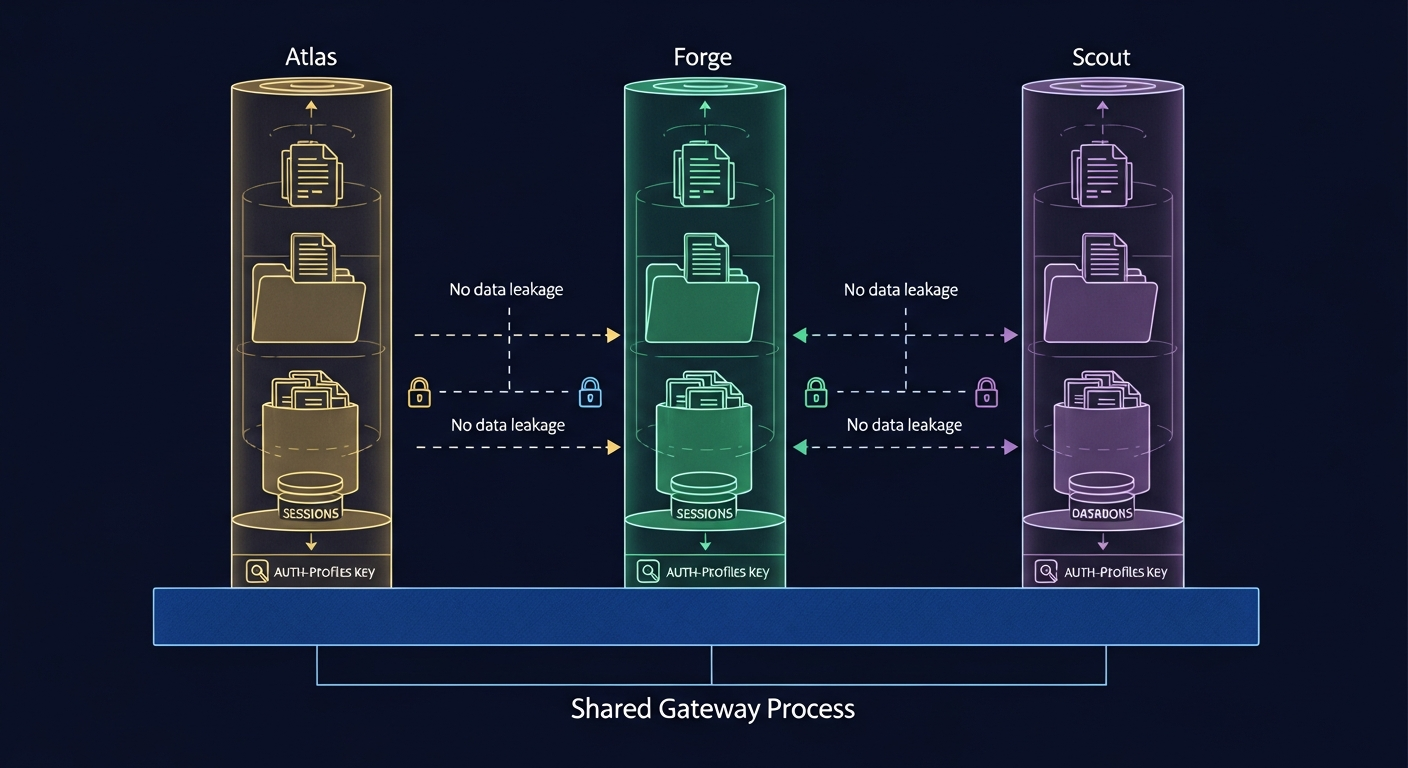
Each agent gets:
- its own config
- its own state directory
- its own workspace
- its own logs
- its own restart lifecycle
Your reverse proxy handles:
- TLS termination
- domain/path routing
- authentication boundary (optionally trusted-proxy auth to gateways)
- request policy and observability
What you should not do:
- expose each gateway directly to the internet
- run all agents from one giant shared mutable config file
- share everything and hope environment variables keep tenants separate
Why this model is recommended by the docs
OpenClaw’s multi-agent docs consistently point to running multiple gateway instances with clean boundaries. Complementary docs cover trusted proxy auth, multiple configs with shared credentials, and remote access controls.
Docker docs reinforce the same idea at the infrastructure layer: user-defined bridge networks give you safer container-to-container communication and tighter exposure control than default networking.
NGINX’s websocket docs explain why you must configure Upgrade/Connection headers and read timeouts for long-lived sessions.
Step-by-step setup
1) Prepare a hardened VPS
Minimum baseline for 3-6 medium agents:
- Ubuntu 22.04/24.04 LTS
- 4 vCPU
- 8 GB RAM
- 80+ GB SSD
Do this before app deploy:
- create non-root sudo user
- disable SSH password login
- use SSH keys only
- enable UFW
- open only
22,80,443
2) Install Docker + Compose
Install Docker Engine and Compose plugin. Confirm daemon health and non-root usage model.
3) Create a private app network
docker network create openclaw_net
This network is where your proxy and agent containers talk privately.
4) Structure directories for isolation
/srv/openclaw/
  docker-compose.yml
  Caddyfile
  agents/
    agent-a/
      openclaw.json
      state/
      workspace/
      logs/
    agent-b/
      openclaw.json
      state/
      workspace/
      logs/
Never mount the same writable state/workspace path into multiple agents.
5) Compose file pattern
Use one service per agent gateway. Keep gateway ports internal to Docker network.
services:
  proxy:
    image: caddy:2
    ports:
      - "80:80"
      - "443:443"
    volumes:
      - ./Caddyfile:/etc/caddy/Caddyfile:ro
      - caddy_data:/data
      - caddy_config:/config
    networks: [openclaw_net]

  agent_a:
    image: ghcr.io/openclaw/openclaw:latest
    command: ["openclaw", "gateway", "--port", "18789"]
    volumes:
      - ./agents/agent-a:/data
    expose:
      - "18789"
    restart: unless-stopped
    networks: [openclaw_net]

  agent_b:
    image: ghcr.io/openclaw/openclaw:latest
    command: ["openclaw", "gateway", "--port", "18789"]
    volumes:
      - ./agents/agent-b:/data
    expose:
      - "18789"
    restart: unless-stopped
    networks: [openclaw_net]

networks:
  openclaw_net:
    external: true

volumes:
  caddy_data:
  caddy_config:
6) Configure one public ingress
Subdomain-per-agent is easiest:
agent-a.example.com -> agent_a:18789agent-b.example.com -> agent_b:18789
Caddy example:
agent-a.example.com {
  reverse_proxy agent_a:18789
}

agent-b.example.com {
  reverse_proxy agent_b:18789
}
If using NGINX, include websocket requirements:
proxy_http_version 1.1;
proxy_set_header Upgrade $http_upgrade;
proxy_set_header Connection "upgrade";
proxy_read_timeout 600s;
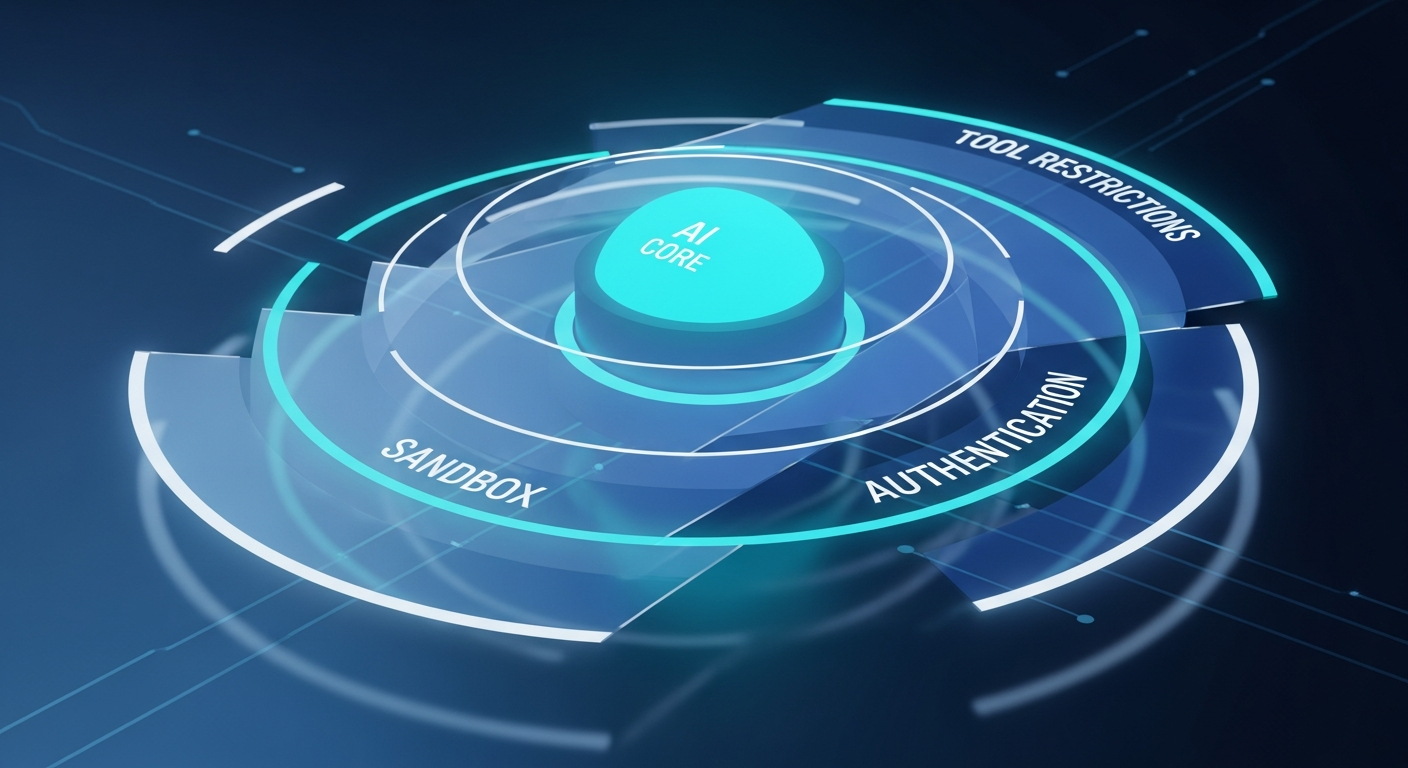
7) Add auth boundary
Two common patterns:
- Edge auth at proxy: validate session/JWT at proxy before forwarding.
- Trusted-proxy mode: gateway accepts identity headers only from known proxy source.
Non-negotiable: gateways must not be directly reachable from internet.
8) Decide credentials strategy
OpenClaw docs support separate config files with shared credentials. Use this carefully:
- shared credentials for low-risk internal agents
- per-agent credentials for customer-facing or compliance-sensitive agents
A practical compromise:
- shared read-only model provider key for simple workloads
- per-agent keys for tools that can mutate data or trigger actions
9) Observability and guardrails
Per agent track:
- CPU/memory
- restart counts
- error rates
- latency percentiles
- websocket disconnect frequency
Set hard limits:
- memory limit per container
- open files limits
- request timeout caps
- rate limits at proxy
10) Scale without pain
Start with one VPS, then split when needed. Good split triggers:
- sustained CPU > 70%
- sustained memory > 80%
- recurring OOM events
- one noisy agent degrading others
- tenant isolation requirements increase
Then migrate by groups:
- heavy agents to dedicated VPS
- customer-specific agents to dedicated runtime pool

Common mistakes
- Publishing all agent ports directly on host.
- Reusing one mutable state directory for multiple agents.
- Skipping websocket proxy settings.
- Trusting forwarded identity headers from untrusted sources.
- No health checks, no restart policy, no alerting.
Production checklist
- [ ] Only reverse proxy exposed publicly
- [ ] One isolated runtime per agent
- [ ] Unique state/workspace/log directories per agent
- [ ] Websocket proxy config verified
- [ ] Auth boundary validated (proxy or trusted-proxy)
- [ ] Firewall allows only 22/80/443
- [ ] Health checks and restart policies active
- [ ] Backups for per-agent state/config
- [ ] Alerting on restarts, timeouts, and 5xx
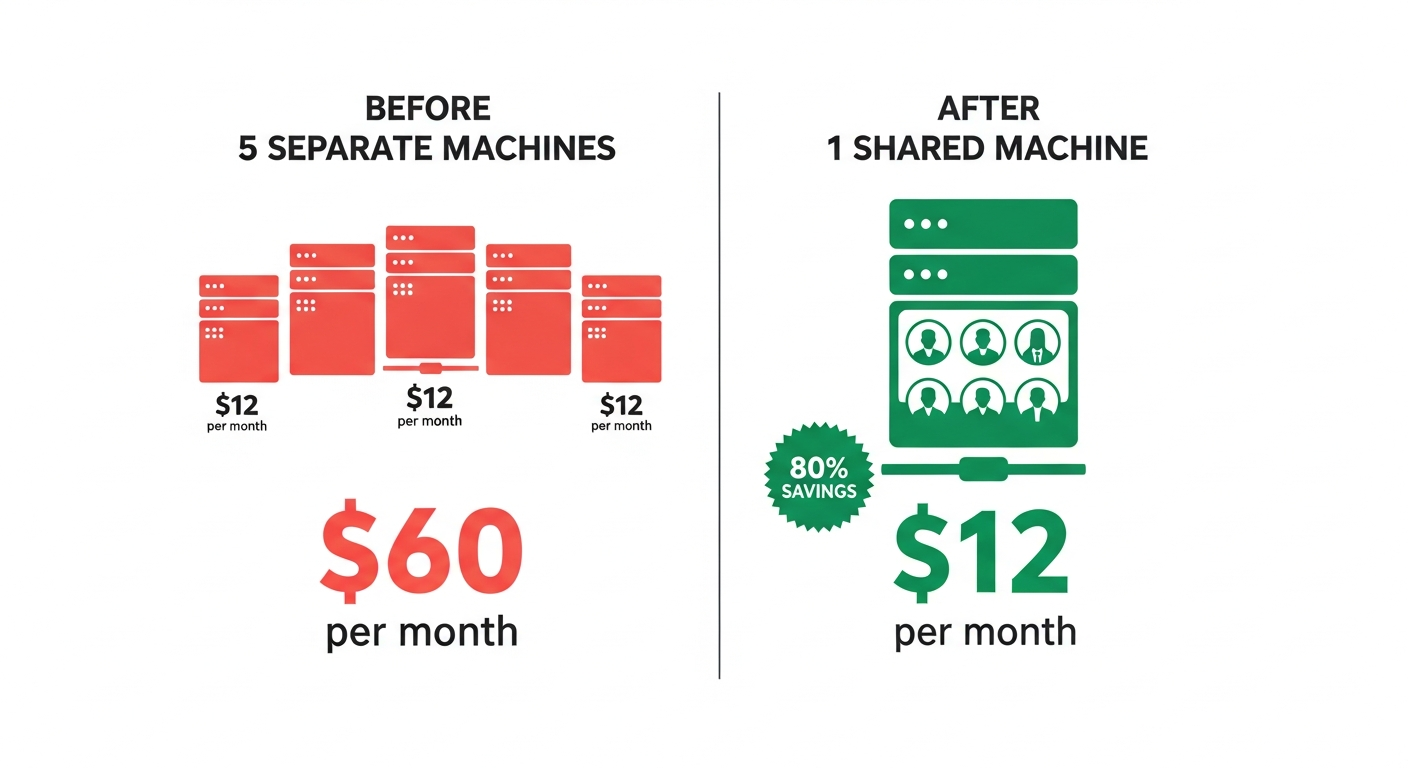
Bottom line
You do not need multiple VPS instances to run multiple agents initially. You need strict isolation and a hardened ingress layer. If you implement one proxy + many private isolated gateways, one VPS can run a serious multi-agent setup. When utilization or isolation pressure rises, split horizontally with minimal architecture changes.
Sources
- https://docs.openclaw.ai/features/multiple-agent-gateways/
- https://docs.openclaw.ai/features/deploy-and-use-multiple-agents/
- https://docs.openclaw.ai/features/trusted-proxy-authentication/
- https://docs.openclaw.ai/features/multiple-agent-config-files-and-shared-credentials/
- https://docs.openclaw.ai/features/configuring-remote-access-to-the-gateway/
- https://docs.all-hands.dev/modules/usage/faq
- https://docs.docker.com/network/drivers/bridge/
- https://nginx.org/en/docs/http/websocket.html
- https://www.digitalocean.com/community/tutorials/how-to-install-and-use-docker-on-ubuntu-22-04
- https://www.digitalocean.com/community/tutorials/initial-server-setup-with-ubuntu-22-04
- https://caddyserver.com/docs/caddyfile/directives/reverse_proxy